
Last updated November 16, 2026
 Sweep & inspection
 Caps & crowns
 Flue relining
 Masonry repair
 Gas fireplace service
Level 1 sweep and inspection to the NFPA 211 annual standard - flue, crown, cap, and flashing checked and photographed
Chimney sweep logs do not sweep chimneys. They loosen some creosote - which then falls where a brush and vacuum still have to collect it.
Chimney Sweep Maintenance Checklist for Miami Gardens Homeowners
Most chimney checklists you’ll find online were written for a house that spends five months under snow. They warn about freeze-thaw cycles, ice dams and creosote hardened by deep cold. Miami Gardens doesn’t work that way. Here, the threats to a chimney are humidity that never really leaves, tropical systems that throw debris onto roofs, and a fireplace season compressed into a few short months that homeowners use hard. That mismatch matters, because a checklist built for the wrong climate misses the failure points that actually show up on Miami Gardens roofs. In this guide we’ll walk through the checks that fit South Florida: what you can safely look at yourself, what needs a camera, what to do after a named storm passes, and how to document it all. Anchor Chimney Sweep works on these systems every season, and this is the checklist we’d hand a neighbor.
Quick Answer
A Miami Gardens chimney maintenance checklist should cover four things: a pre-season inspection before you start burning, monthly visual checks you can do without tools, a specific post-storm walkaround after any named tropical system, and annual documentation you keep on file. The climate here stresses a chimney through moisture and storm debris more than through cold, so your checklist should focus there. A professional sweep and camera inspection once a year closes the loop on everything you can’t safely see.
Styles & brands we work with
- Sweep & inspection
- Caps & crowns
- Flue relining
- Masonry repair
- Gas fireplace service
Table of Contents
- Why a South Florida Chimney Checklist Is Different
- Pre-Season Checklist: Before the First Fire
- Cap and Screen Integrity After Storm Season
- Crown Cracking and Thermal Expansion
- Flue Tile Moisture Scoring
- What You Can Check vs. What Needs a Camera
- Post-Storm Checklist After a Named System
- The Monthly Five-Minute Check
- Documentation Habits That Protect You
Why a South Florida Chimney Checklist Is Different
The chimney problems we run into in Miami Gardens rarely come from cold. They come from moisture and from the way this climate lets a chimney sit idle and then get used in concentrated bursts. A masonry chimney here absorbs humidity for months, dries unevenly, and takes on water at its weakest points. Then fireplace season arrives and the system heats and cools in cycles that a slower, longer winter would spread out. The combination is what causes trouble, not either one alone.
Three local stressors drive most of what this checklist covers:
- Humidity cycles. Masonry is porous. In a humid climate it holds moisture longer, and that moisture works on mortar joints, crowns and flue tile over time.
- Tropical storm season. Wind-driven rain and airborne debris test caps, screens and crowns every year between June and November. A cap that was fine in spring can be compromised by fall.
- A compressed burn window. Many Miami Gardens households light the fireplace only during the cooler months, then run it often. That concentrates creosote production into fewer weeks, which changes how fast a flue loads up.
None of this means a Miami Gardens chimney is fragile. It means the maintenance rhythm should match the environment. A checklist that ignores moisture and storm damage is a checklist that misses the point.
Pre-Season Checklist: Before the First Fire
Run this list before you light the first fire of the season. It’s your baseline, and it’s the one inspection that matters most because everything downstream depends on starting from a known condition.
- Look at the firebox interior. Check for loose or crumbling mortar between firebricks, cracks in the brick faces, and any gaps at the smoke shelf. Small cosmetic cracks in the brick surface are common; open joints and missing mortar are not.
- Open the damper and confirm it moves freely. A damper that sticks or won’t open fully is a sign of rust or debris. Confirm it opens flat and closes snug.
- Check the smoke chamber. Shine a light up past the damper. You’re looking for heavy soot buildup, animal nesting material, or a broken corbel. If you can’t see the smoke chamber clearly, that’s a job for a camera.
- Look at the cap and spark screen from the ground. Binoculars help. You want the cap seated, the screen intact, and no rust-through or missing panels.
- Scan the roofline for loose flashing. Where the chimney meets the roof, flashing keeps water out. Lifted or cracked flashing lets it in, and water at the roof line is a maintenance problem long before it’s a chimney problem.
- Confirm your smoke and carbon monoxide detectors work. These are your backstop. Test them before the first fire every year.
If any of those checks raise a question you can’t answer from the ground, that’s the cue to book a chimney sweep and camera inspection before the season starts. Nothing on this list requires you to climb onto the roof or reach into the flue.
Cap and Screen Integrity After Storm Season
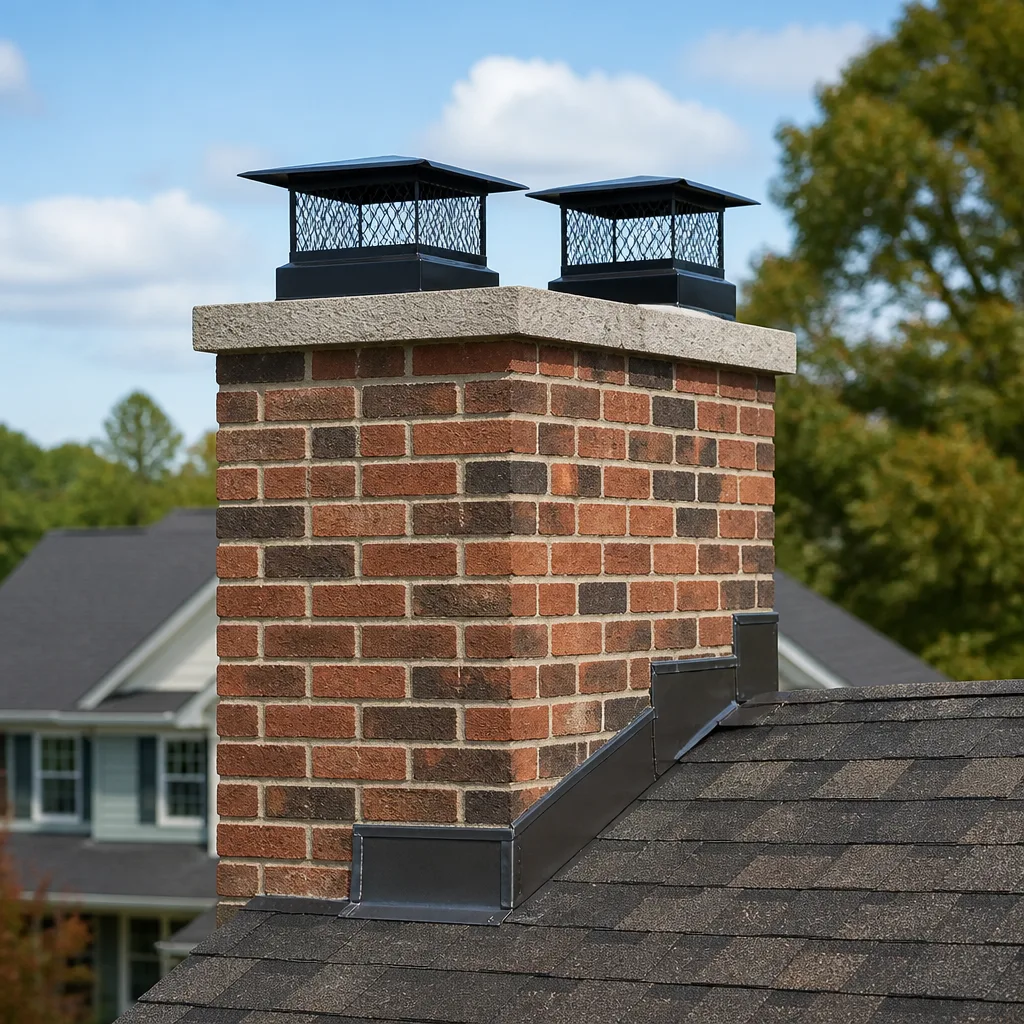
The cap and spark screen are the chimney’s first line of defense, and in Miami Gardens they take the most punishment of any component. Wind-driven debris, palm fronds, and the general airborne grit of a tropical system all work on them. A compromised cap lets water straight into the flue and invites birds and squirrels to nest inside, which turns a venting system into a blocked one.
After storm season, check these items:
- Is the cap still seated and square? A shifted cap means the mortar bed or fasteners let go. That’s a repair, not a re-seat with caulk.
- Is the spark screen intact on all sides? Torn mesh is a nesting invitation. A screen with a gap larger than a pencil is a problem.
- Is there rust-through? Look for flaking or holes in a metal cap. Rust-thin panels fail in the wind.
- Is debris piled on top of the screen? Leaves and twigs sitting on the cap cut airflow and hold moisture against the metal.
- Are the fasteners still holding? Missing screws or clips mean the cap is one gust from coming loose.
We source and fit caps, dampers and vent covers from Famco and Gelco so the replacement matches your chimney rather than being a generic fit. If your cap is past saving, that’s a straightforward swap once we’ve confirmed the rest of the system is sound.
Crown Cracking and Thermal Expansion
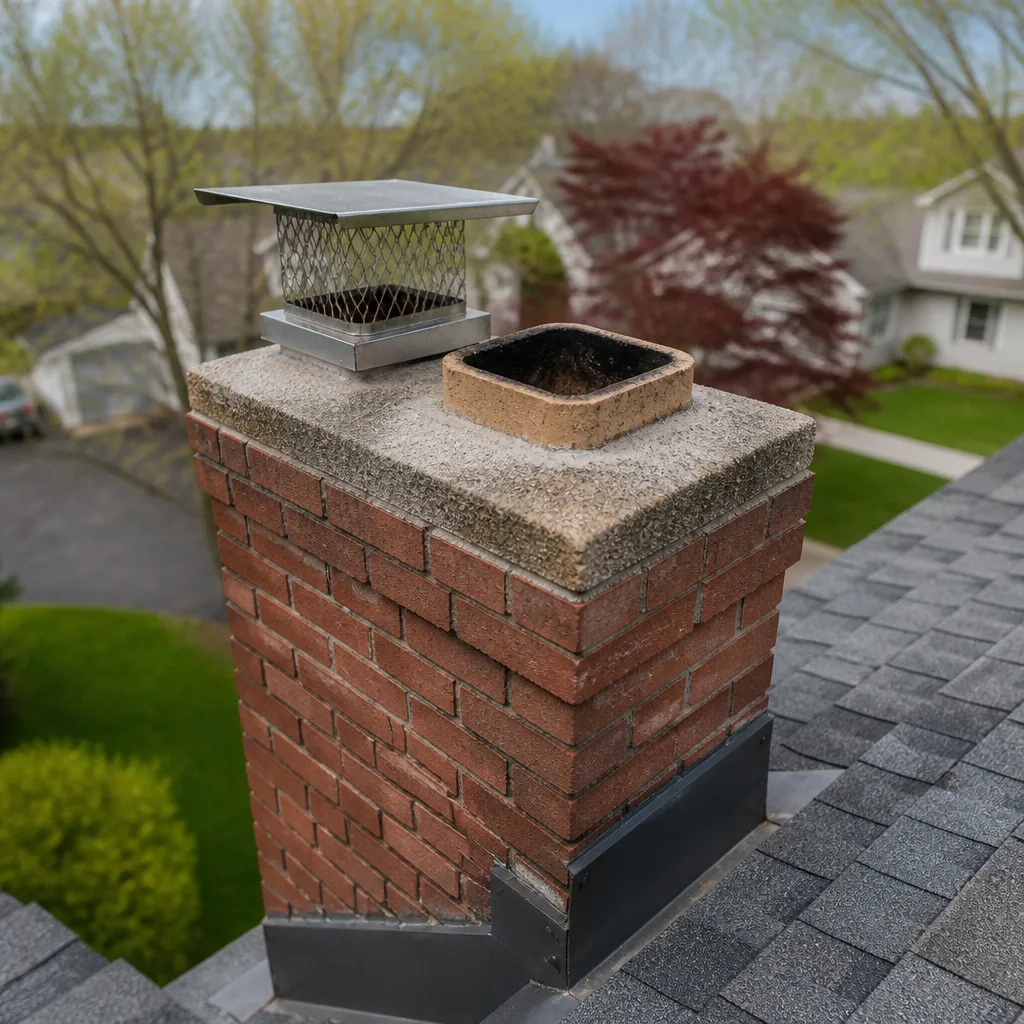
The chimney crown is the concrete slab at the very top that sheds water away from the flue. It’s the most overlooked component on a Miami Gardens chimney, and cracking there is a classic South Florida failure. The reason is thermal expansion: the crown and the flue beneath it heat and cool at different rates, and in a climate that swings between cool fireplace-season nights and warm days, that differential works on the crown’s surface and its bond to the flue. Add the sun’s daily expansion and you get hairline cracks that widen with time.
What to look for from the ground, with binoculars:
- Cracks running across the crown surface, especially ones that look wider at one end.
- A crown that’s pulled away from the flue tile, leaving a visible gap.
- Crumbling or spalling at the crown’s outer edge.
- Staining down the outside of the chimney below the crown, which can indicate water tracking through a crack.
Crown repair is one of the areas where a small problem is worth catching early. A hairline crack resealed and properly sloped prevents water from reaching the flue and the masonry below. Left alone, that same crack feeds into flue tile damage and, eventually, into interior water intrusion. Crown work is part of the broader chimney repair picture, and we handle it in the same visit as the sweep so the diagnosis and the fix stay consistent.
Flue Tile Moisture Scoring
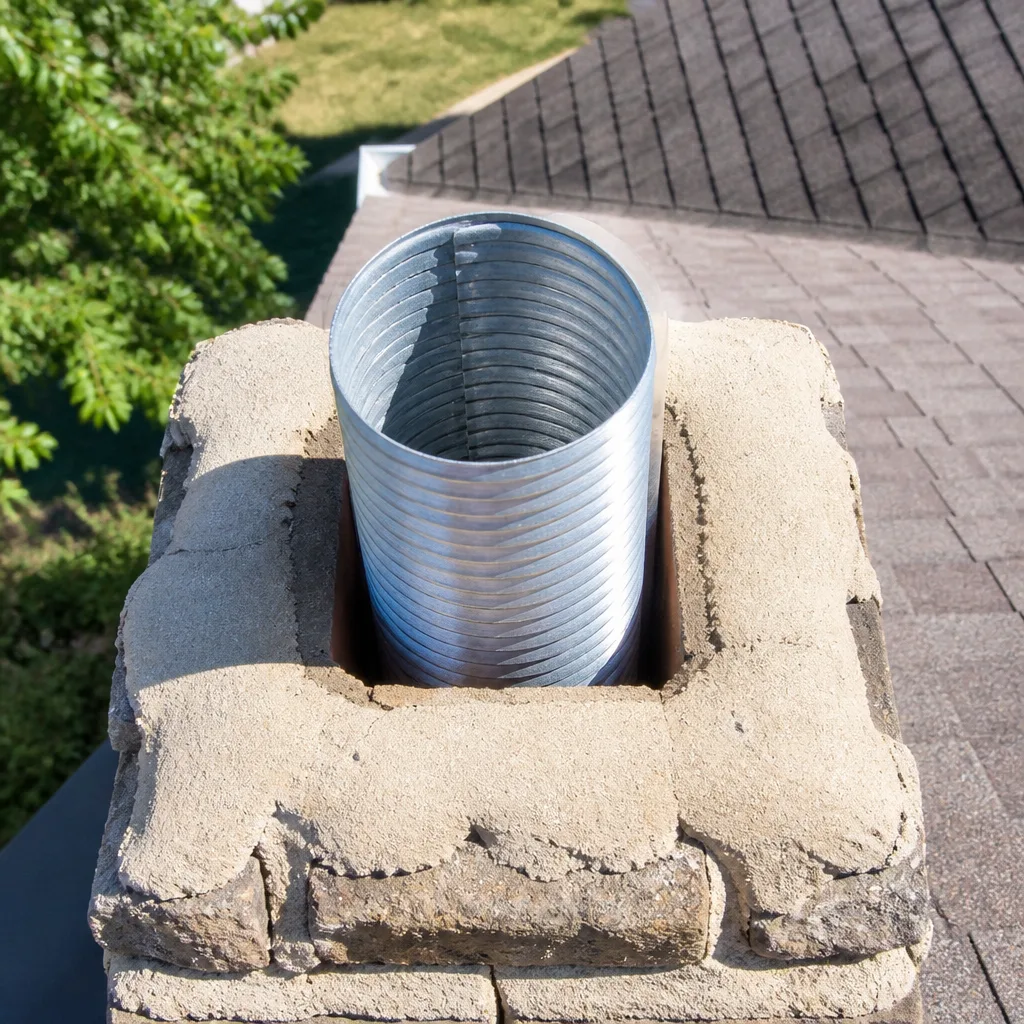
Flue tiles line the inside of a masonry chimney and contain the heat and gases of a fire. When they crack or the joints between them fail, heat and moisture reach the masonry around them. In a humid climate, that masonry is already holding more moisture than it would in a dry one, and the flue tile’s job becomes harder. Moisture scoring is the term for the pattern of damage that humid cycling leaves on flue tile: pitting, spalling on the surface, and joints that open and soften.
You can’t reliably see flue tile condition from the firebox. This is a camera job. What a camera inspection looks for:
- Cracked tile, whether hairline or through the full thickness.
- Open or missing mortar joints between tiles.
- Spalled or pitted tile faces from moisture cycling.
- Shifting or offset tiles, which can signal movement in the chimney structure.
- Creosote glaze, which is a fire risk and a sign the flue needs cleaning before it can be properly assessed.
When the tile is compromised but the chimney structure is sound, HeatShield liner restoration is a documented, manufacturer-backed option that rebuilds the flue’s inner surface without a full liner replacement. That’s the kind of judgment call a camera inspection makes possible. We’ll show you the footage and explain what the tile looks like so you can see the evidence for yourself.
What You Can Check vs. What Needs a Camera
A useful checklist is honest about its limits. Here’s the line between homeowner observation and professional inspection, drawn as plainly as we can put it.
Safe for homeowners to check
- The firebox interior, from the hearth, with a light.
- Damper operation.
- Cap and screen condition from the ground, with binoculars.
- Crown cracks from the ground.
- The smoke chamber from the firebox, as far as your light reaches.
- Smoke and carbon monoxide detector function.
- Flashing at the roof line, from the ground.
Needs a trained technician with a camera
- Flue tile condition and joint integrity.
- Creosote depth and glaze inside the flue.
- Offset or shifted tiles.
- Hidden damage behind a cap or in the smoke chamber beyond your light.
- Anything requiring getting on the roof.
Two safety notes. First, never reach into the firebox or flue looking for debris – creosote and soot are hazardous, and there can be hidden structural damage. Second, chimney work at height is genuinely dangerous. Roof access on a Miami Gardens home is not a homeowner task, and a fall from a roof is far worse than a service call. If you can’t see it from the ground, don’t climb to check it.
Post-Storm Checklist After a Named System
After any named tropical system passes through Miami Gardens, run this list within a few days once conditions are safe.
- Walk the yard for fallen debris near the chimney. Locate any limbs or material that came down, and note what’s still in the tree canopy above the roof.
- Inspect the cap and screen from the ground. Look for a shifted cap, torn screen, or debris sitting on top.
- Look at the crown with binoculars. New cracks or a widened gap after a storm are common.
- Check the flashing at the roof line. Wind-driven rain finds lifted flashing.
- Look inside the firebox. Water stains, moisture, or soot that’s washed down onto the hearth are signs of intrusion from above.
- Look for soot or water stains on the ceiling near the chimney. Interior staining points to a problem that needs professional attention.
- Smell for smoke or mustiness around the fireplace when it’s not in use. That can mean a blocked flue or water intrusion.
If anything on the list turns up a concern, that’s the time to call rather than wait for the next season. Storm damage compounds: a cap problem lets water in, water damages tile, and tile damage reaches the structure. We answer 24/7 at (844) 560-6429, and dispatch from 7am to 7pm, Sunday through Friday.
The Monthly Five-Minute Check
You don’t need tools for the monthly check, and you don’t need to climb anything. This is the one habit that catches small problems before they become big ones, and it works year-round. Do it in the morning with good light.
- Look into the firebox. Check for new cracks, crumbling mortar, or debris that fell.
- Open and close the damper. Confirm it moves freely.
- Look up the flue from the firebox. Note any obvious soot buildup or foreign material.
- Step outside and look at the cap. A visual scan with binoculars from the yard.
- Scan the crown. Look for new cracks or a widening gap.
- Look at the ceiling and walls near the chimney for stains.
- Test the smoke and carbon monoxide detectors.
The check shouldn’t take more than five minutes. What you’re doing is building a mental baseline of what “normal” looks like for your system so a change stands out. The month you notice something new is the month you can act on it.
Documentation Habits That Protect You
Photograph your chimney’s condition once a year, and keep the photos together with any inspection reports and repair records. This is the single most useful maintenance habit a Miami Gardens homeowner can build, and most people never do it. The photos create a repair history – a record of what the chimney looked like before and after each season and each fix.
Why that history matters:
- Insurance claims. When you file a claim for storm damage or water intrusion traced to the chimney, evidence of condition and maintenance timeline helps your claim rather than hurting it. A homeowner who can show what the chimney looked like before a storm is in a better position than one who can’t.
- Real estate transactions. If you’re buying or selling, a credible inspection and a documented history of condition is worth more than a verbal description. Sellers who can show maintenance records face fewer inspection surprises at closing.
- Your own reference. Photos let you spot a change year over year that you’d otherwise miss. Cracks widen slowly, and a photograph from twelve months ago is the proof.
We use camera inspection and provide a photo report, so the documentation is built into every visit. That report plus your annual photos is the record that protects you.
Common Mistakes to Avoid
- Using a Midwest checklist on a Miami Gardens chimney. If your list is focused on freeze-thaw cycles, it’s missing the moisture and storm damage this climate actually causes. Build the list around humidity and named storms instead.
- Assuming a clear flue means a sound flue. A flue that draws well can still have cracked tile. Only a camera inspection tells you what the inner surface looks like.
- Skipping the cap check after a storm. The cap takes the first hit and often looks fine from the street until you look with binoculars. A shifted cap is a small fix that turns expensive fast if water gets in.
- Lighting the first fire of the season without a pre-season inspection. A compressed burn window here means heavy use in a short time. Starting from a known condition is what makes that safe.
- Ignoring a hairline crown crack. Crown cracks are the earliest warning of water intrusion, and they’re cheap to deal with early. They get more expensive with every season.
- Not documenting anything. Homeowners who photograph and file annually have a repair history that protects them with insurers and at sale. A verbal “it’s been maintained” carries no weight.
- Reaching into the firebox or climbing on the roof to “check for yourself.” Both are genuinely dangerous. If you can’t see it from the ground, that’s a technician’s job.
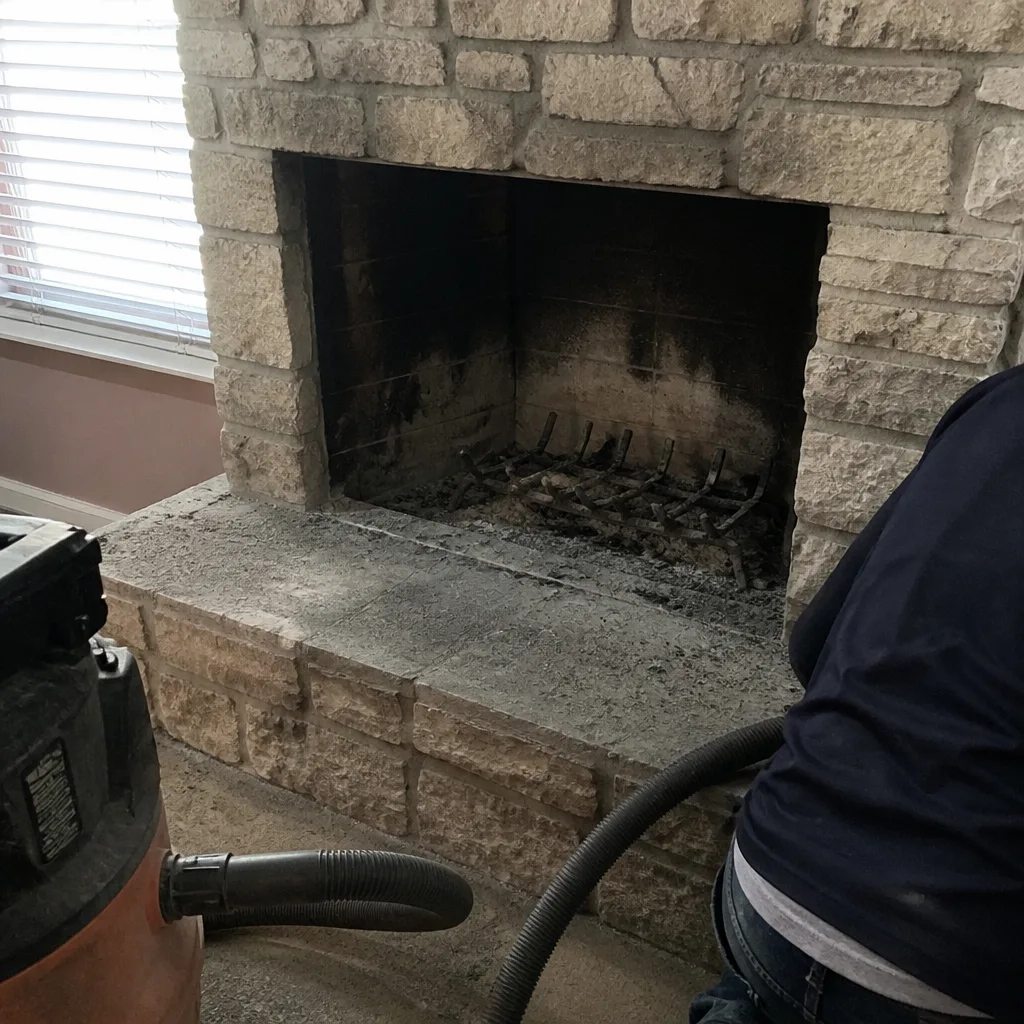
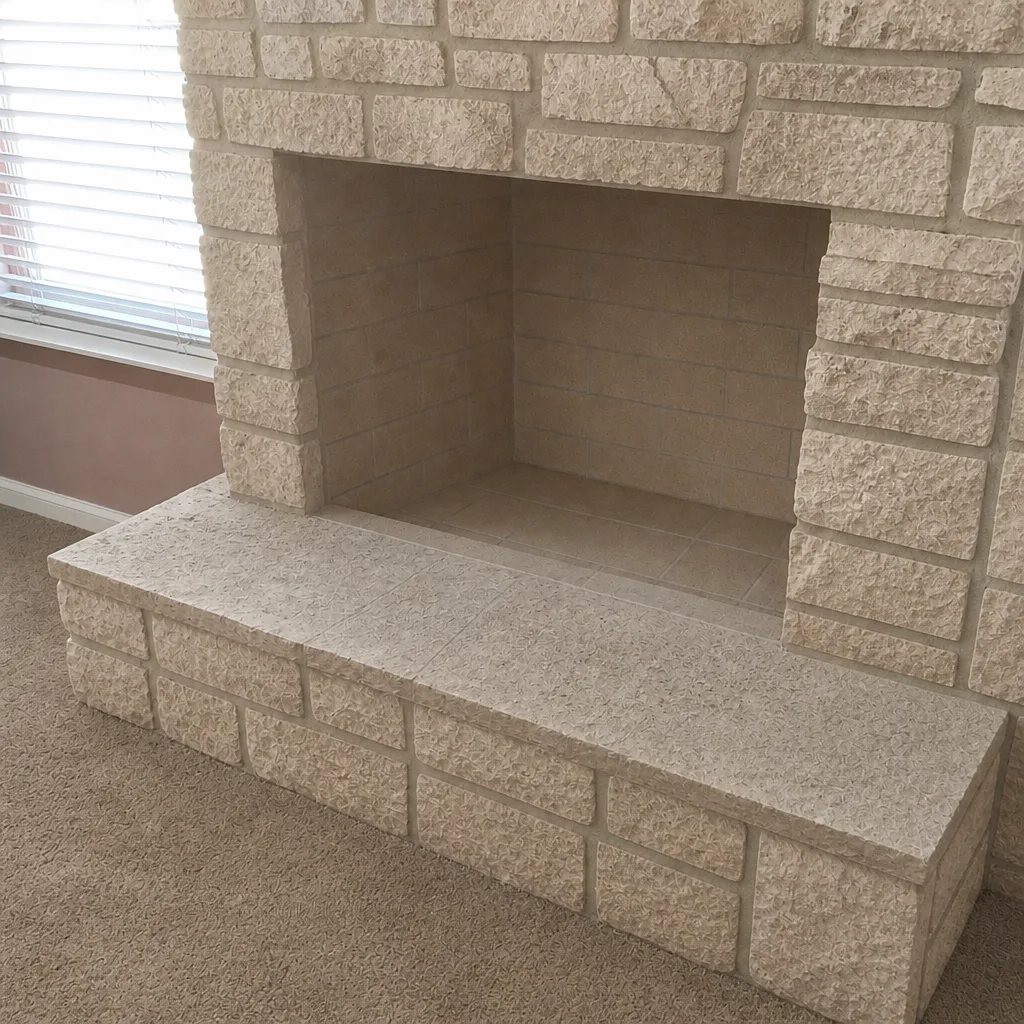
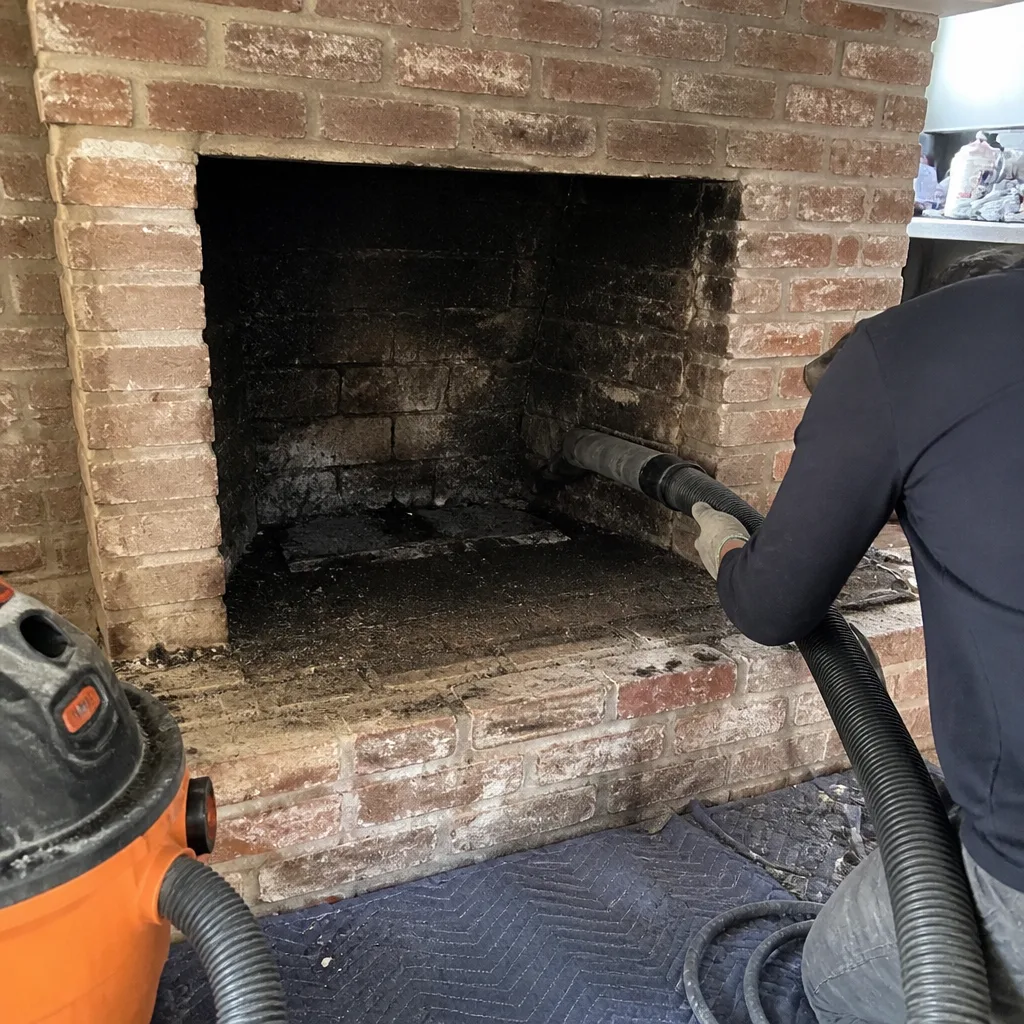
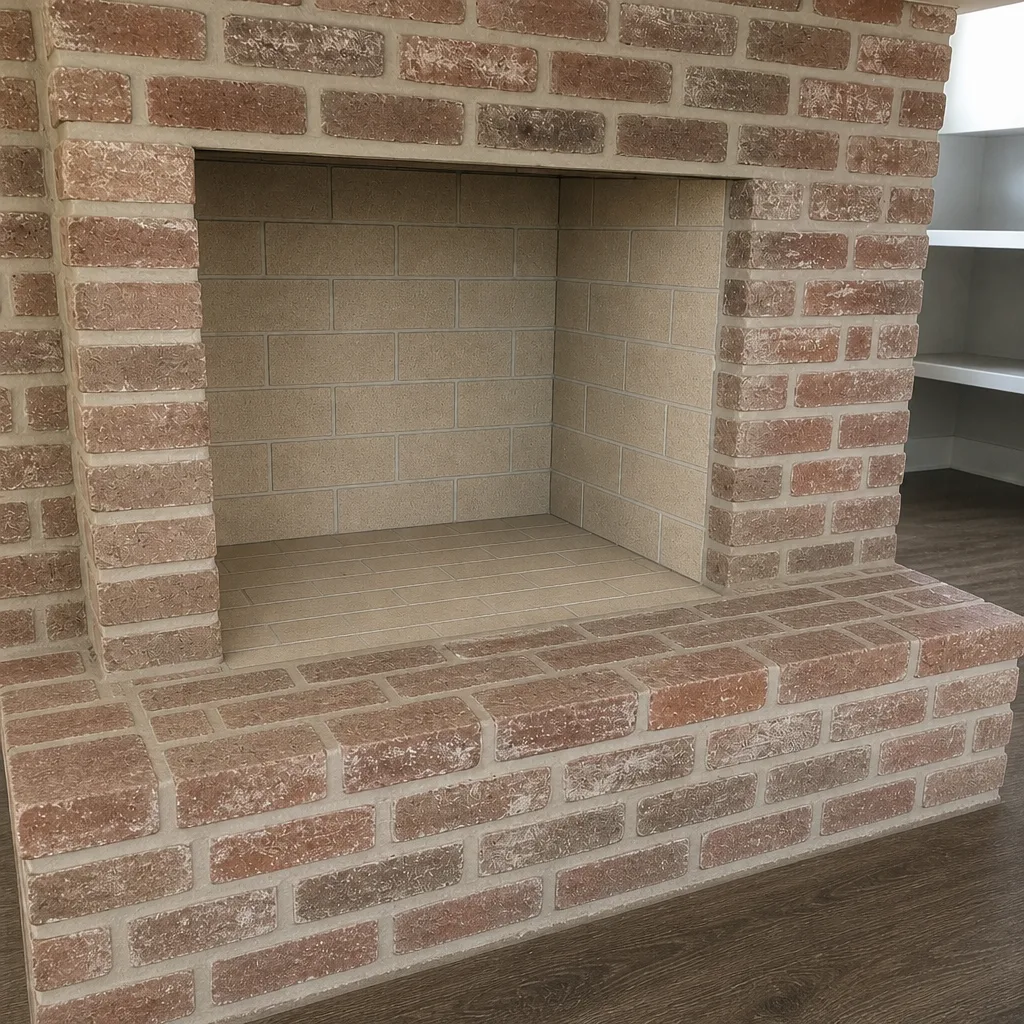
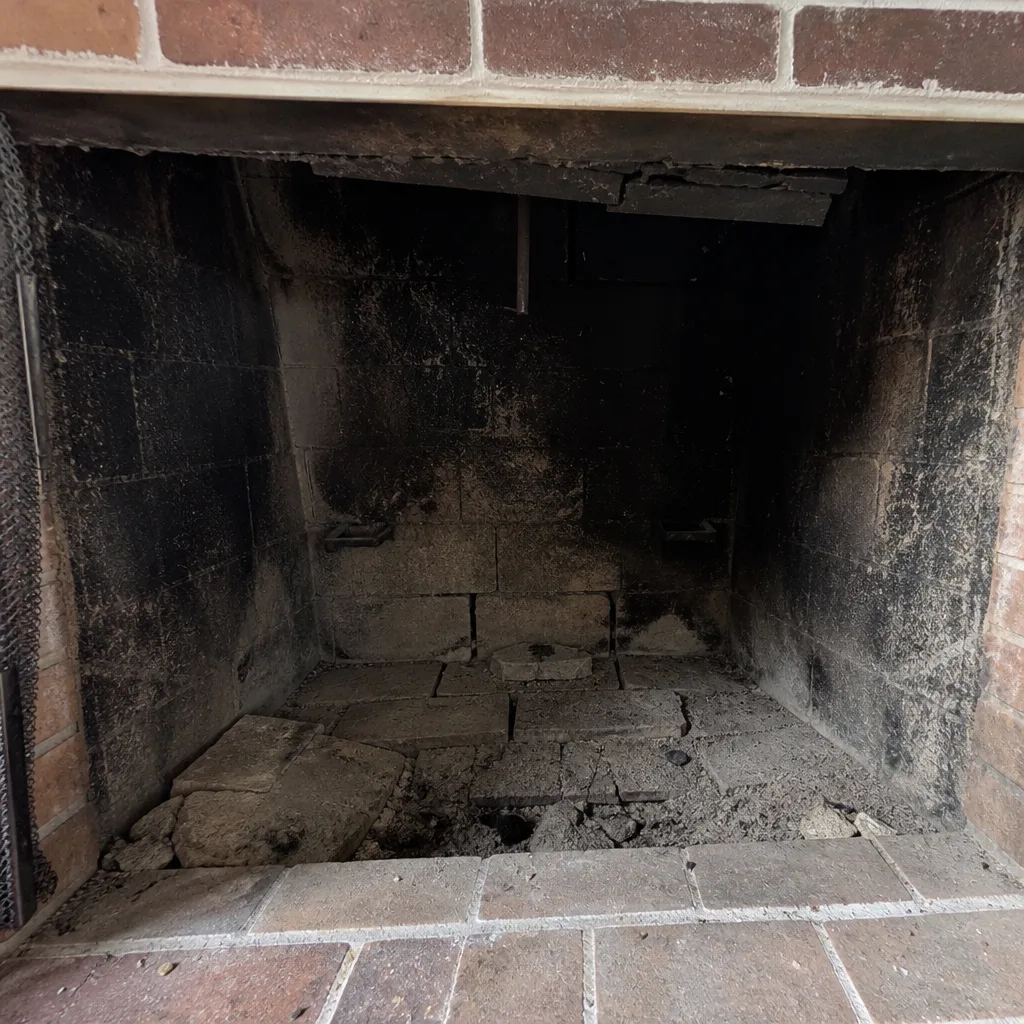
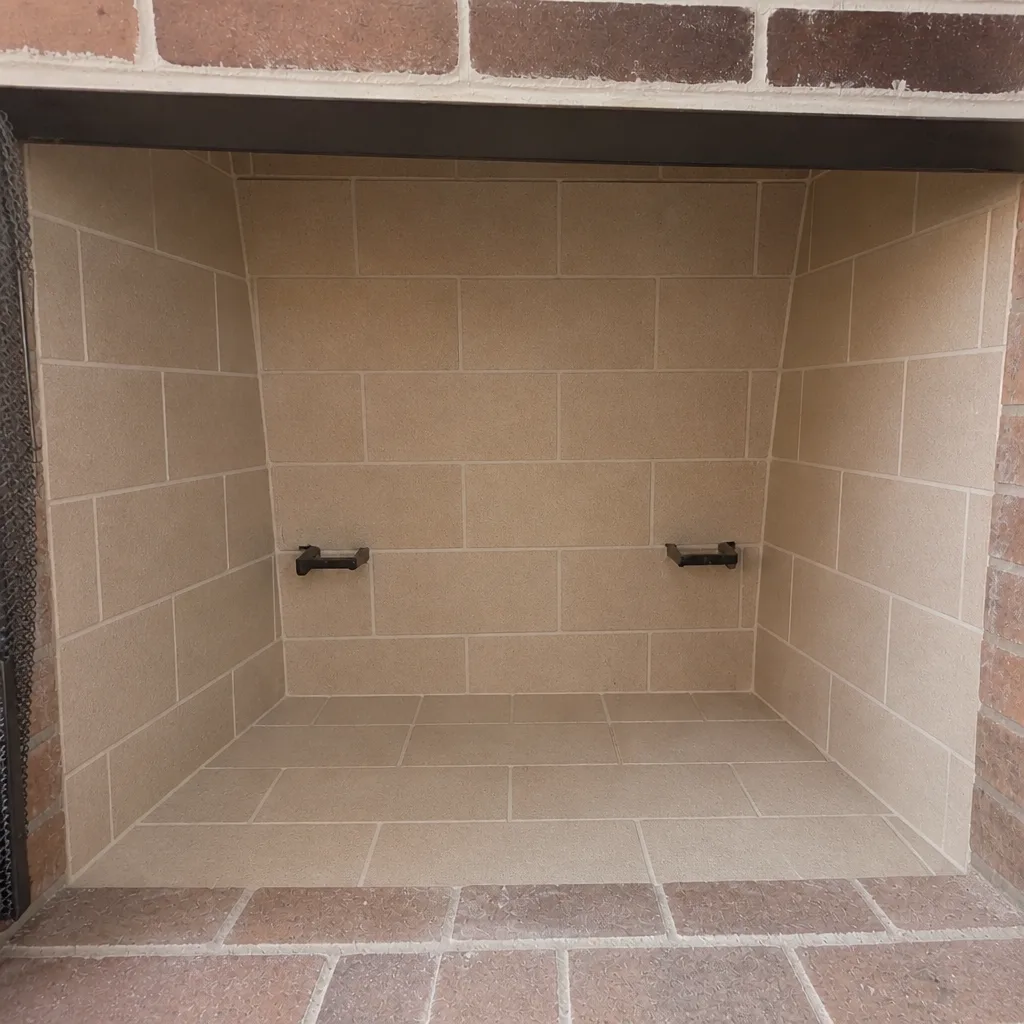
See the difference
 Before
 After
 Before
 After
 Before
 After
When to Call a Professional
Some maintenance is DIY, and some genuinely isn’t. Call a professional if any of these come up: cracks or crumbling mortar in the firebox, a crown that’s pulled away from the flue or widened visibly after a storm, water stains inside the firebox or on the ceiling near the chimney, a cap that’s shifted or a screen that’s torn, a damper that won’t move freely, or any sign of heavy soot or glaze in the flue. Also call if it’s been more than a year since the system was inspected, if the chimney has never been inspected in a home you’ve just bought, or if you’re selling and need credible documentation. We handle the sweep, the inspection, and any repair under one call. Anchor Chimney Sweep offers free estimates in Miami Gardens – call (844) 560-6429.
Frequently Asked Questions
Once a year for most wood-burning fireplaces, and more often if you burn frequently or see glaze on the flue. In Miami Gardens, the annual sweep should also include a camera inspection, because the moisture and storm factors here create problems a basic sweep alone won’t catch. Book the sweep before the season starts. Call (844) 560-6429 for an exact quote – estimates are free.
The post-storm cap and crown check after any named tropical system. In this climate, storm-driven failure at the top of the chimney is the most common cause of water intrusion, more common than anything cold weather does. It takes minutes with binoculars. Call (844) 560-6429 if something looks off.
Small damage compounds. A cracked crown lets water into the flue, moisture cycles damage the tile, and a compromised flue is a fire and carbon monoxide risk. Skipping maintenance also leaves you without a documented history when you need one for an insurance claim or a sale. Book a sweep and inspection to start from a known condition. Call (844) 560-6429 for a free estimate.
No – proper cleaning requires specialized tools, roof access and a camera inspection, all of which are genuinely dangerous to attempt alone. What you can do safely is the monthly five-minute visual check and the post-storm walkaround from the ground. Call (844) 560-6429 to book the sweep.
Check the cap and screen from the ground, look at the crown with binoculars, scan the flashing at the roof line, and look inside the firebox for water or soot that’s washed down. Also check for interior stains near the chimney. Anything concerning is worth a professional look. Call (844) 560-6429.
Yes – a flue that draws well can still have cracked tile or open joints. Only a camera shows the inner surface where the damage hides. In our experience, camera inspection is what turns a checklist from guesswork into evidence. We show you the footage and the photo report. Call (844) 560-6429 for an exact quote.
The Bottom Line
A Miami Gardens chimney maintenance checklist works when it fits the climate: moisture and storm damage first, cold-weather warnings left to the Midwest. Run the pre-season inspection before your first fire, do the monthly five-minute check, and walk the system after every named storm. Know the line between what you can safely observe and what needs a camera, and don’t cross it. Photograph the chimney yearly and keep the records – that history protects you with insurers and at sale. A chimney is a system, and this checklist treats it that way. Anchor holds, so does our work.
Call (844) 560-6429 for a free estimate. We answer 24/7. Fast dispatch from 7am to 7pm, Sunday through Friday.
Written by the team at Anchor Chimney Sweep.